DIY hanging planter tutorial

Here are the supplies and tools you'll need for this project. The cost of materials listed here comes to about $50–60 but you'll have enough for multiple planters.
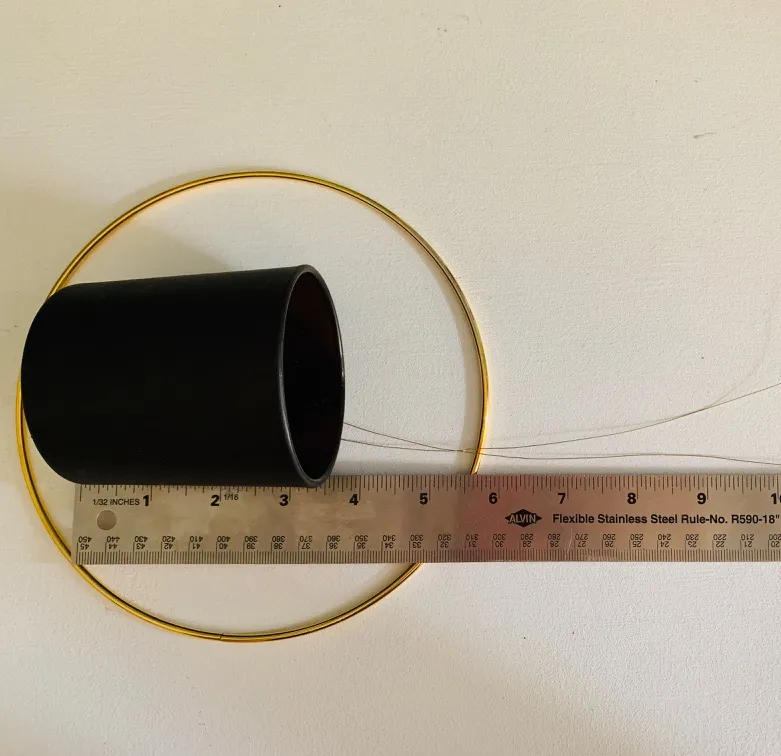
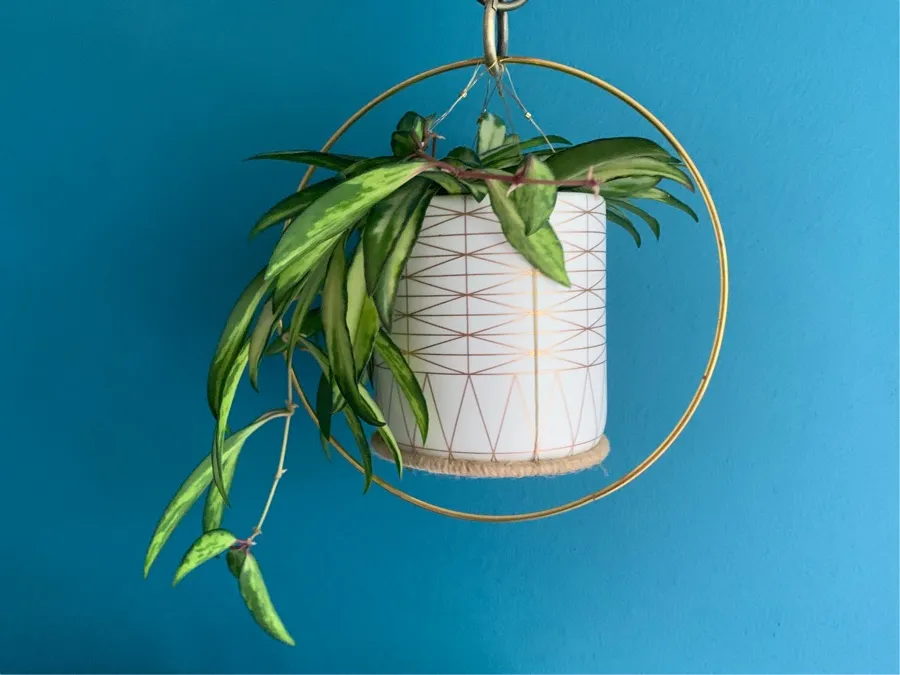
For craft hoops you'll need one that's smaller than the bottom of the pot and one that's large enough to accommodate both the pot and foliage. I used 2–3″ for the smaller ones and anywhere from 7–12″ for the larger rings.
Craft hoops Jute twine Liquid Stitch 34-gauge wire 20-gauge wire Round carabiners (2 per planter) Crimp tube beads
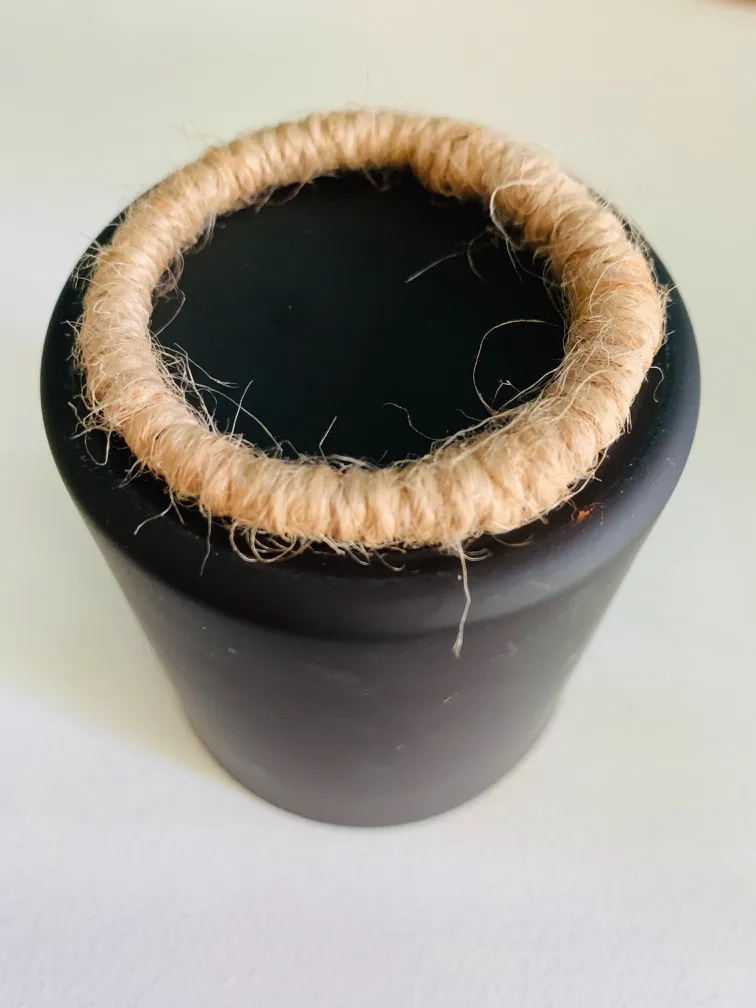
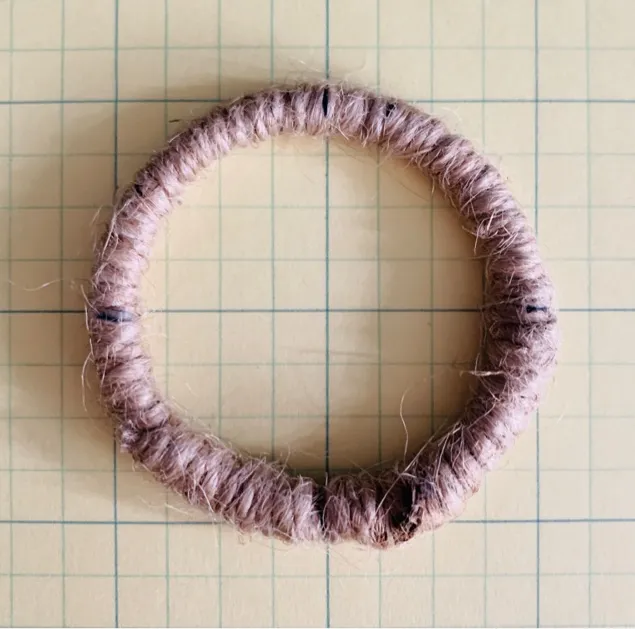
Wrap twine tightly around the smaller craft hoop, then secure the ends with Liquid Stitch. Your wrapped hoop should rest flat on the bottom of your pot.
Using a pen or thin Sharpie, mark 4 points equidistant from each other on the circle.
Graph paper makes this easy. Rest your hoop so that each edge is equidistant from where two lines cross (in my example, the edges are each four boxes away from where the two darker lines meet). Then make a small line where each arm of the + crosses the hoop.
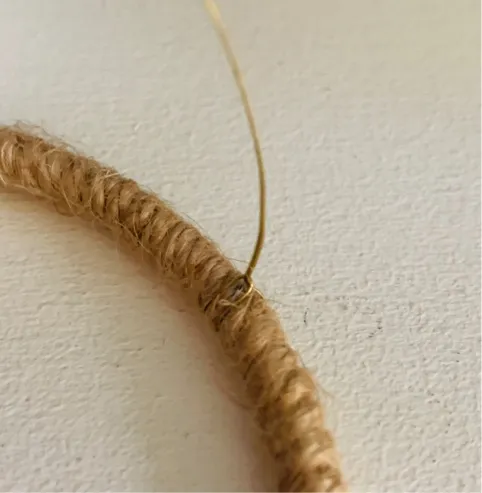
Loop the 34-gauge wire around the hoop. Place your pot (preferably with the plant inside) on the hoop. Put this near the edge of a table.
Hold the larger hoop around your pot as you'd like it to hang when the planter is finished. Pull the loose end of the wire up until it touches the large loop, then pull it an extra 3 inches or so.
Bring the spool of wire up to meet the loose end so that the wire is doubled up. Then cut the wire off the spool.
Use the wire from Step 3 to measure and cut three more pieces of wire. Then loop each wire around the small hoop at the marks you made in Step 2.

Thread a crimp bead on each set of wires. Rest your pot on the small hoop near the edge of a table. Hold the larger hoop around your pot like you did in Step 3.
Pull the loose ends of the wire up and bend them gently around the large hoop where your fingers are holding it.
Feed the ends of the wires back down through the crimp bead, then guide them up and back down through the crimp bead. Tug to tighten and then crimp with pliers.
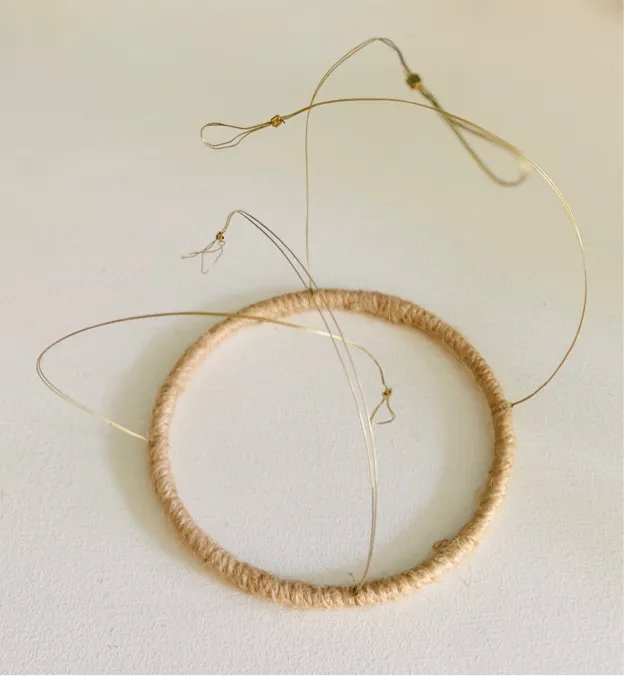
Measure the total length of the wire from Step 6, from hoop to the top of the loop. If the finished wires aren't all the same length, your pot won't hang straight!
Repeat the process from Step 6 to create loops on the remaining three sets of wires.
Pretty easy!
This is also pretty easy 😄
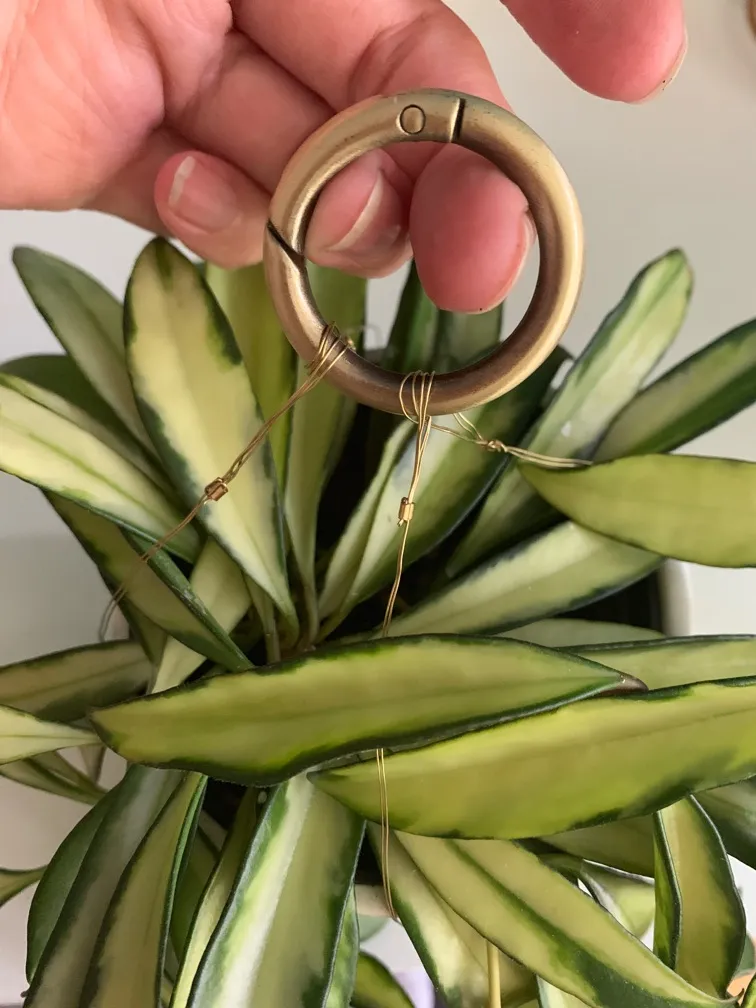
Run a wire in the desired length from your carabiner up to your hanging carabiner. Make a loop on each end for easy removal.
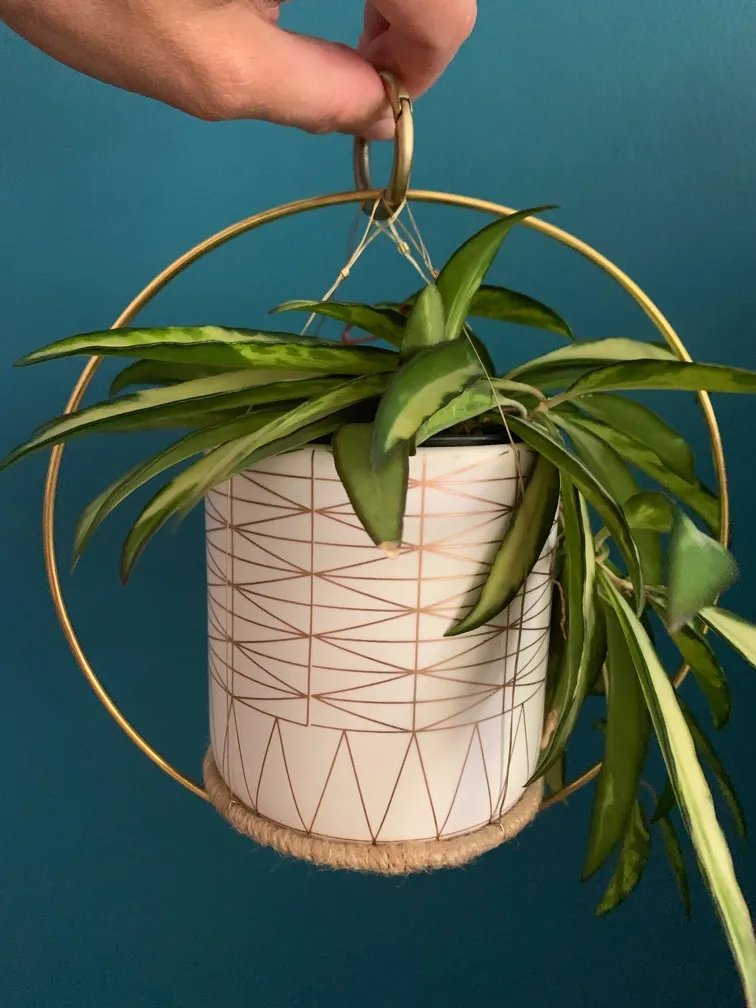
You can also clip one plant on to the larger craft hoop of another plant hanger. Just be conscious of the weight limit of the carabiners you're using.
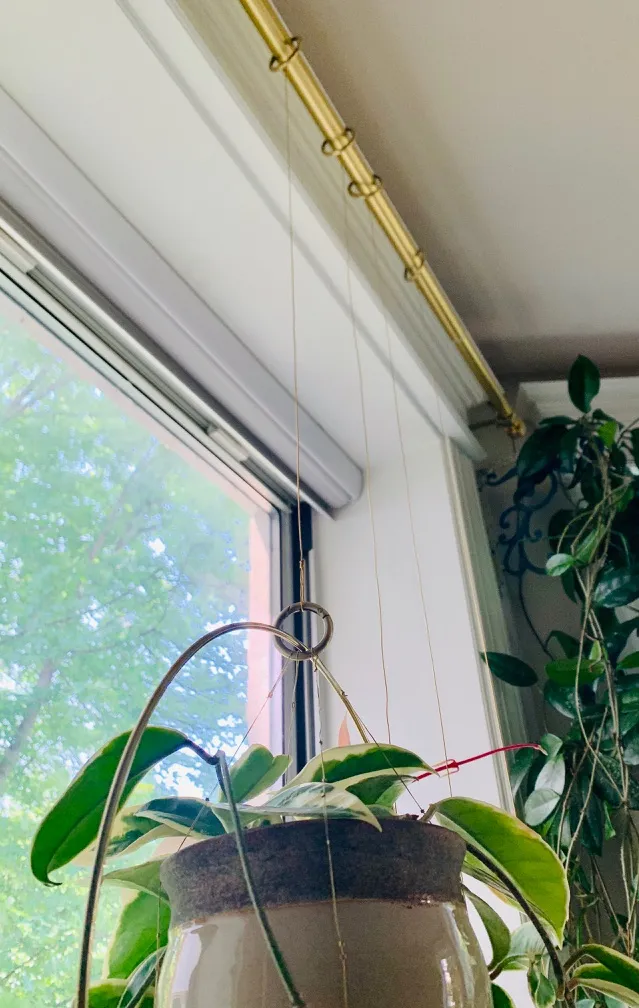
I hang my plants from a 2″ curtain rod because I like how it looks. The opening of the carabiner isn't big enough for me to clip/unclip them from the rod, but if I want to rearrange the plants to accommodate new additions it's fairly easy for me to unclip the plant from the carabiner and move it to another clip.
Now you can sit back, relax and enjoy your plants!